Post by bubbah0tep on Jun 13, 2017 15:13:22 GMT
So this is a long time in coming, and most people probably already decided what they wanted to do about the Tervigon Dilemma. By that I mean, a need for a model in a vaccuum without an official model that gets determined years later by the release of an official model.
However, it is 8th edition time, so perhaps people will be re-evaluating whether to run a tervigon heavy list. Or, like me, they might not like the official model. So since my original inspiration source seems to have gone offline, here is this!
So I created my tervigon conversion from a carnifex. I had two carnifex, one of which was painted one was raw that I used. So the pics might look slightly different as I seem to have photographed them interchangably.
So with one, I was working with a model I could construct as I wanted as it came dissassembled. The other was overly superglued as well as painted in a scheme that did not match what I was going for. However, it turns out that if you put a model in a freezer, the superglue becomes fragile enough that a slight bit of pressure will fragment the bond and it comes right apart! It's a trick I learned from somewhere, so I figure that I ought to include it in here for anyone else attempting to disassemble a model without damaging the plastic.
So, I used plastic sprue in between the torso and the hips to elongate the body. I don't have a precise measurement, but you can get a rough idea of the length from eyeballing the pictures.
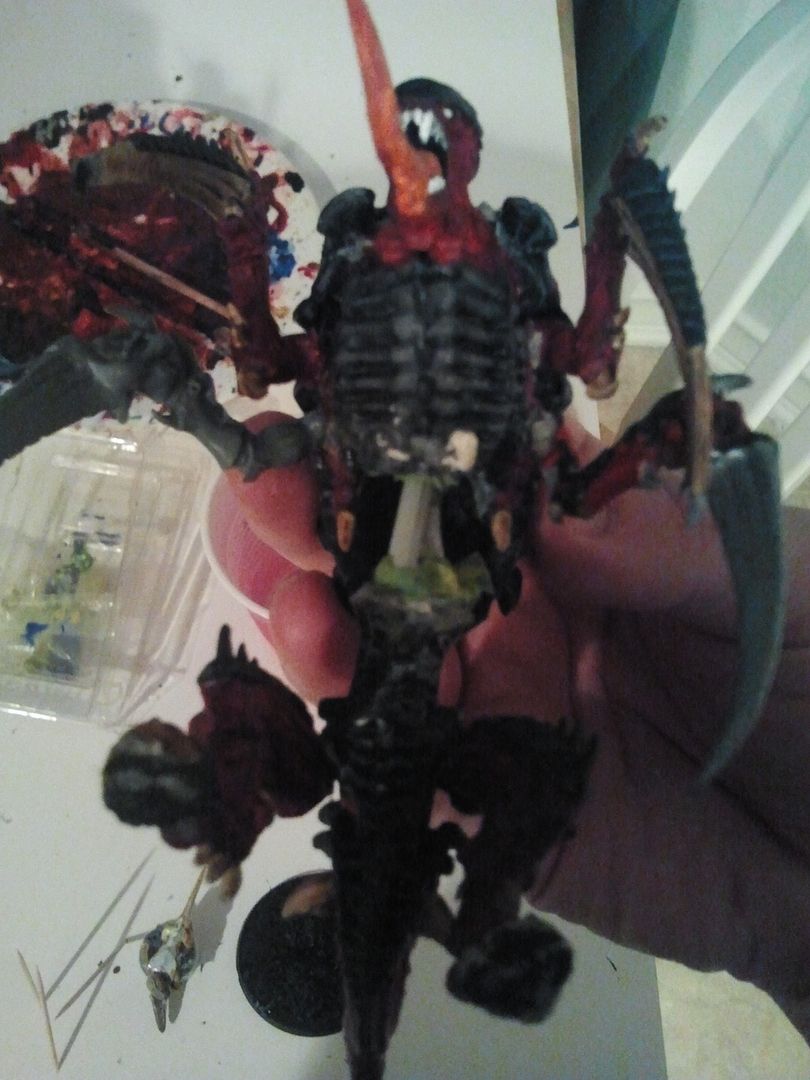
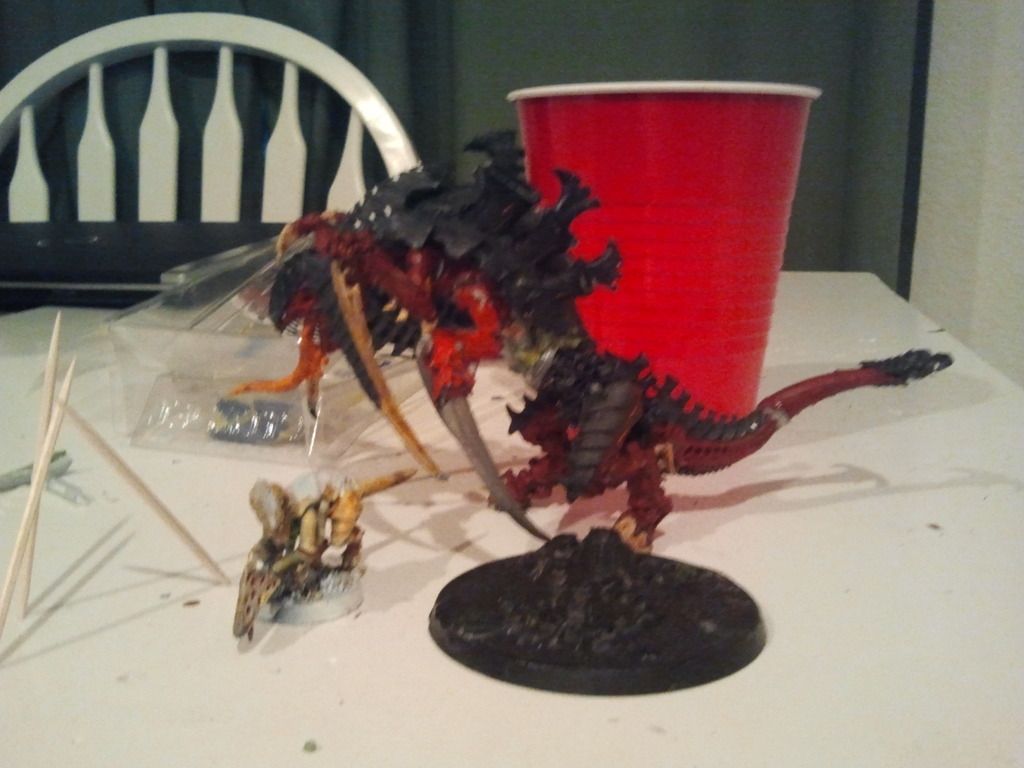
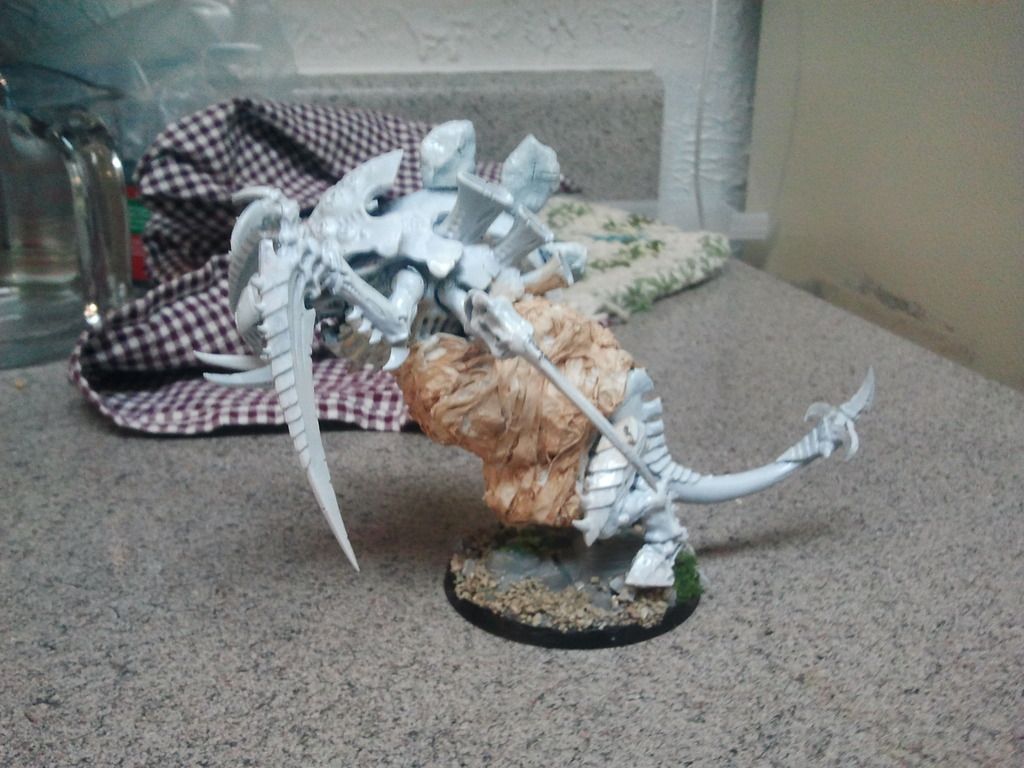
After the greenstuff and sprue dried, then it was time to create the birthing sacks. I did this using aluminium foil to create balls, and then gluing them into the body cavity that I created. I stacked them to create a lumpy bulging belly.
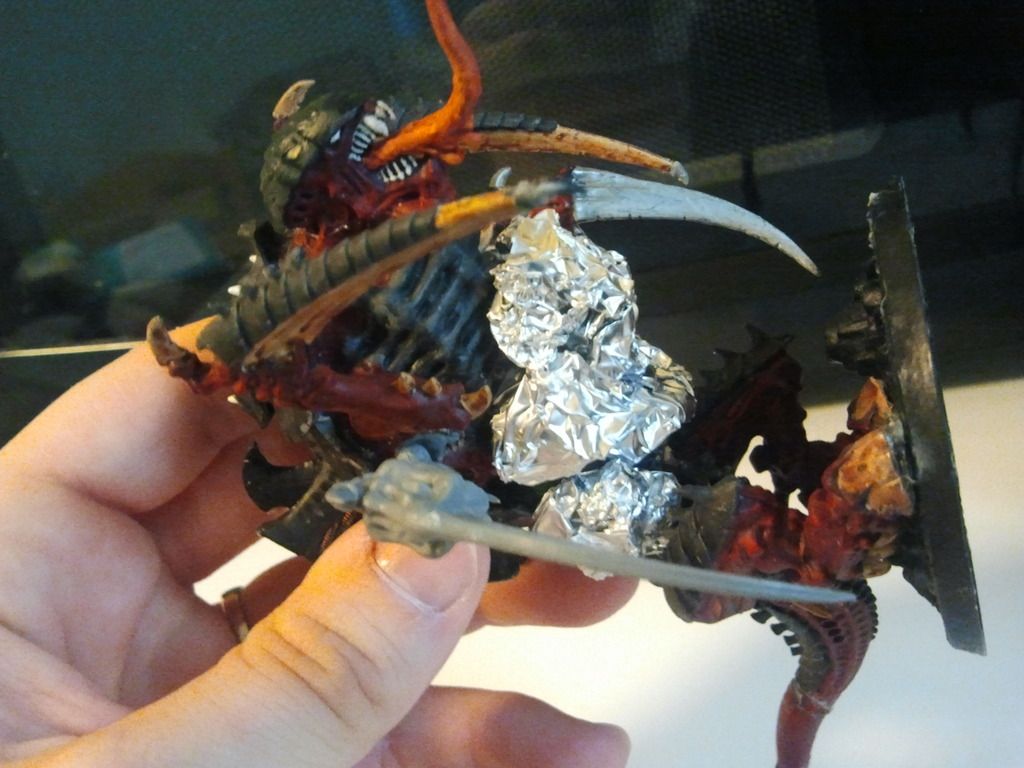
Here is another pic from a different angle
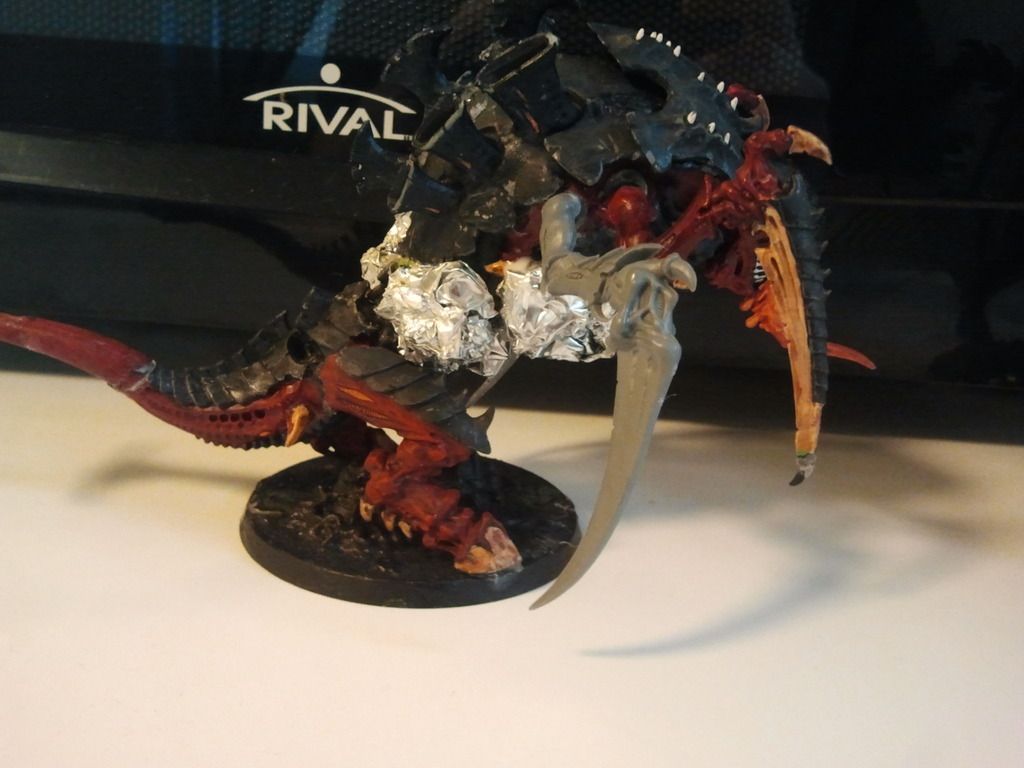
The next step, my pictures actually skip around a bit. So I'll have to explain it, and then give the pics. The next step was creating flesh over the balls. I did this by mixing elmer's glue into water, until it became a soupy mess that was in between opaque and transparent. I then took Kleenex, double-layered, and cut strips and submerged them (horizontally and evenly) into the mix until they were soaked. And then, I layered them over the balls. I did my best to preserve a wrinkled effect while also ensuring that the balls appared to be pressing against rather than through the kleenex. Then, I let the whole thing dry. What this did was create homemade plaster-strips. I then spray-painted primer over it, and gave it a first wash. Unfortunately my pictures are after the first wash.
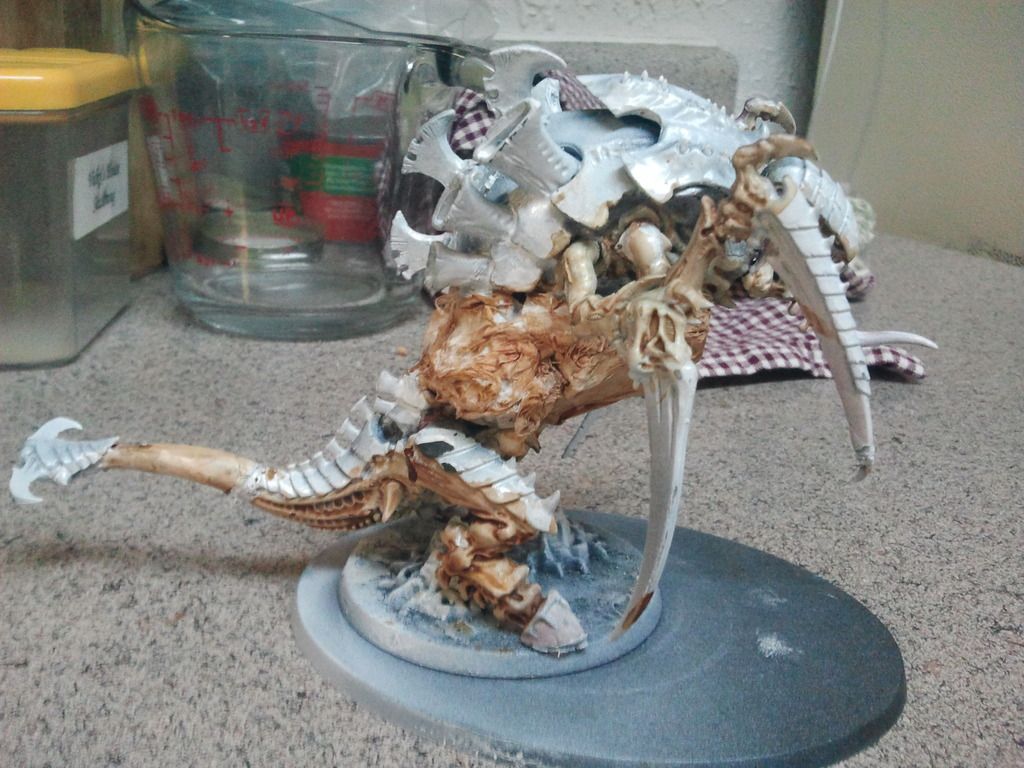
So then I finished painting! I'll include a couple pictures of the model completed.
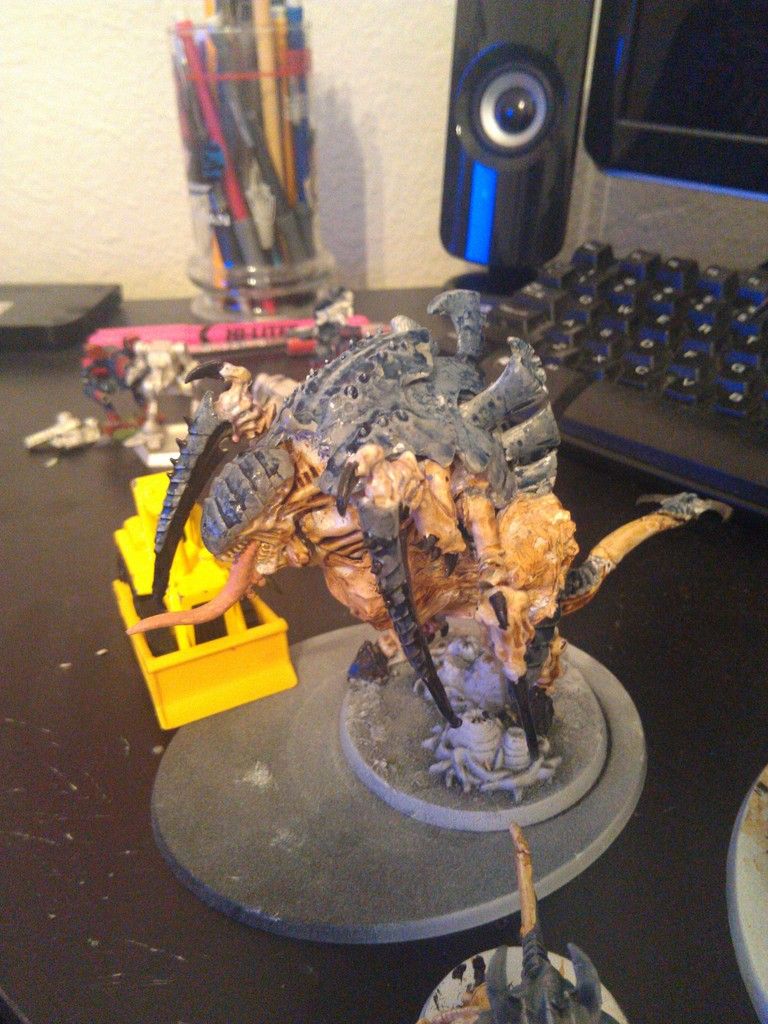
Here are the two tervigons next to a couple other monstrous creatures from Hive Fleet Wendle.

I should note, that both of the creatures are on round bases that are on oval bases. And both have stuff on the bases. The reason for that, is that the official tervigon came out. Fortunately, 3plusplus.net posted an article that included dimensions of the official model. So I changed up my base to reflect the dimensions of the official model in terms of base size as well as model size. This was to ward off accusations of modeling for advantage and ensure fair play on the table. The 3plusplus article I am referencing can be found here: www.3plusplus.net/2012/03/the-sky-isnt-falling-new-tervigons-again/
Thank you again for sticking through a long post, I hope it is helpful. I've enjoyed restoring unloved and damaged models for Hive Fleet Wendle, and will continue posting soon!
Please post questions or comments!
However, it is 8th edition time, so perhaps people will be re-evaluating whether to run a tervigon heavy list. Or, like me, they might not like the official model. So since my original inspiration source seems to have gone offline, here is this!
So I created my tervigon conversion from a carnifex. I had two carnifex, one of which was painted one was raw that I used. So the pics might look slightly different as I seem to have photographed them interchangably.
So with one, I was working with a model I could construct as I wanted as it came dissassembled. The other was overly superglued as well as painted in a scheme that did not match what I was going for. However, it turns out that if you put a model in a freezer, the superglue becomes fragile enough that a slight bit of pressure will fragment the bond and it comes right apart! It's a trick I learned from somewhere, so I figure that I ought to include it in here for anyone else attempting to disassemble a model without damaging the plastic.
So, I used plastic sprue in between the torso and the hips to elongate the body. I don't have a precise measurement, but you can get a rough idea of the length from eyeballing the pictures.


After the greenstuff and sprue dried, then it was time to create the birthing sacks. I did this using aluminium foil to create balls, and then gluing them into the body cavity that I created. I stacked them to create a lumpy bulging belly.

Here is another pic from a different angle

The next step, my pictures actually skip around a bit. So I'll have to explain it, and then give the pics. The next step was creating flesh over the balls. I did this by mixing elmer's glue into water, until it became a soupy mess that was in between opaque and transparent. I then took Kleenex, double-layered, and cut strips and submerged them (horizontally and evenly) into the mix until they were soaked. And then, I layered them over the balls. I did my best to preserve a wrinkled effect while also ensuring that the balls appared to be pressing against rather than through the kleenex. Then, I let the whole thing dry. What this did was create homemade plaster-strips. I then spray-painted primer over it, and gave it a first wash. Unfortunately my pictures are after the first wash.


So then I finished painting! I'll include a couple pictures of the model completed.

Here are the two tervigons next to a couple other monstrous creatures from Hive Fleet Wendle.

I should note, that both of the creatures are on round bases that are on oval bases. And both have stuff on the bases. The reason for that, is that the official tervigon came out. Fortunately, 3plusplus.net posted an article that included dimensions of the official model. So I changed up my base to reflect the dimensions of the official model in terms of base size as well as model size. This was to ward off accusations of modeling for advantage and ensure fair play on the table. The 3plusplus article I am referencing can be found here: www.3plusplus.net/2012/03/the-sky-isnt-falling-new-tervigons-again/
Thank you again for sticking through a long post, I hope it is helpful. I've enjoyed restoring unloved and damaged models for Hive Fleet Wendle, and will continue posting soon!
Please post questions or comments!
