Post by sneggy on Jan 10, 2015 21:31:27 GMT
Hello my fellow Denizens of the Tyranid Hive. I'm on a bit of a roll regarding posting pictures I've had lying around so thought I'd treat you all to my blundering efforts to build a gaming table.
Now I am fortunate enough that I have a gaming room in my house. Mostly because when me and the wife had a discussion on whether the 3rd bedroom was for potential children or toy soldiers I said toy soldiers....pretty sure I'm still in trouble for that actually but nevermind.
One of my gaming group laid down a challenge to me. He had just built his gaming table (using foam insulation for a modular board to be used on the dining table) and the price tag had come out at roughly the cost of a realms of battle board for his unique and attractive set-up.
I of course immediately saw an opportunity for a bit of one up-manship and informed him I would build not just a board but the table for it to go on as well for less than half the cost of the realms of battle board.
Now I'm a pretty handy chap (I work for a timber company and know my way around a power tool or two) so I messed up some measuring and promptly asked the boss for some wood and set to work. My main goals being that my board would be tall enough for a good sized bloke (I'm 6'1") to play at all day without getting a sore back from bending over. A place where reserves/army books/the ubiquitous dead pile could be stored that was not on the playing surface, its a pet hate of mine. Then of course my budgetary requirements.
At this stage I'll toss in a few pictures for you of the board being built.
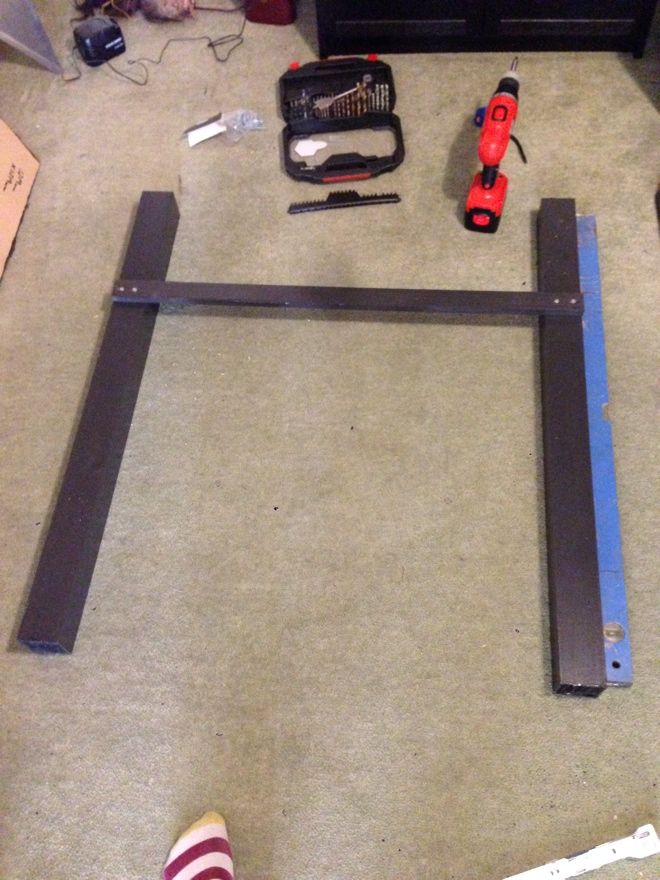
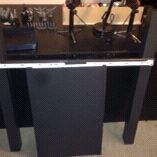
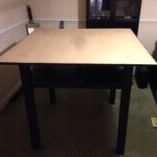
So thats the actual table built. The first picture shows a rudimentary frame being built, thats one half of the legs. Dead simple.
Second picture is showing my solution to the books/reserves/dead pile issue. Attached to the supporting ribs I have put on kitchen drawer sliders, with a shelf which slides in and out on your players side. This shelf is used by the player on that side for there stuff. Its measured to be tall enough that a wraithknight will fit, along with any current flier.
Finally the tabletop is 4x4 allowing for the completed main board to be taken off (its unattached so you can spin the board if you roll a different deployment type, or someones being an ass and wants to swap sides after you've already got the table ready.) and can be used for smaller games with scatter terrain.
Cost of the table at this stage £32.
4 4"by4" posts
3 pieces of 18mm MDF (one big top, 2 small shelf pieces)
Black Paint
Box of Screws.
Drawer sliders.
At this stage the most expensive thing is the black paint...which is ridiculous.
Now the actual table itself. Now the mathematically gifted amongst you will have noticed I have £55 at this stage to make a gaming board. Impossible right? Nah.
So one more piece of MDF, a few bits of pine(ouch budget) to edge it, a ton of PVA glue and a roll of chicken wire. Either this is a really poor trap for the road runner or I've gone insane.
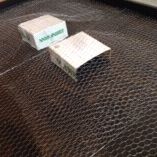
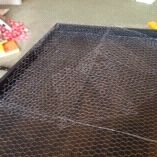
Starting to make sense yet?
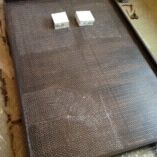
How about now?
So using the left over black paint I've painted my gaming board to match the table, then got the chicken wire and started to make some hills out of it. MY gaming board is going to be a big snowy tundra with scattered ruins and forests on it, after all a fully sculpted board which you couldn't alter would get dull after a while. So we have a big hill in the corner and a valley in the centre.
The chicken wire was really easy to work with, my advice is wear some gloves, rubber faced(like you would use for heavy duty gardening/working with building materials is preferrable but in a pinch wool will do. The Wire is pointy and likes to stap you, expect some scratches. It simply staples into the surrounding pine and the MDF base. Shape it how you like. For parts not supported by the boards edge I have used some hacked up shoeboxes to offer some sturdiness.
So now I have a board with more holes in than expensive cheese. With only £20 left in my budget I must be screwed right? to Solve my problem we turn to the PVA glue. Now, a few people don't actually believe me but this really does work and is strong enough. My board is made from Papier Mache, 20 layers of it to be precise. Its hard as rock. You can hit it with a hammer and it wont break. Its also basically free. I get a paper everyday so I just used them. Even if you don't they give them out for free on buses and trains (in England at least.)
I will concede the downside to doing it this way though. With drying time (and tolerable working time since it does get reallllly boring) this part of the process did take maybe 2 months.
So £20 still left in the budget and I now have something that looks like a lumpy hostage negotiation letter. (and a NSFW corner I made entirely out of Page 3 which I call Boob Mountain.)
Final purchases:
Grey Textured Spray paint and White Textured Spray paint.
Setting to work spraying the whole damn thing. Compared to the papier macheing this is satisfyingly fast. Even including drying time it took a weekend. Most of that was waiting for it to dry.
So finished product:
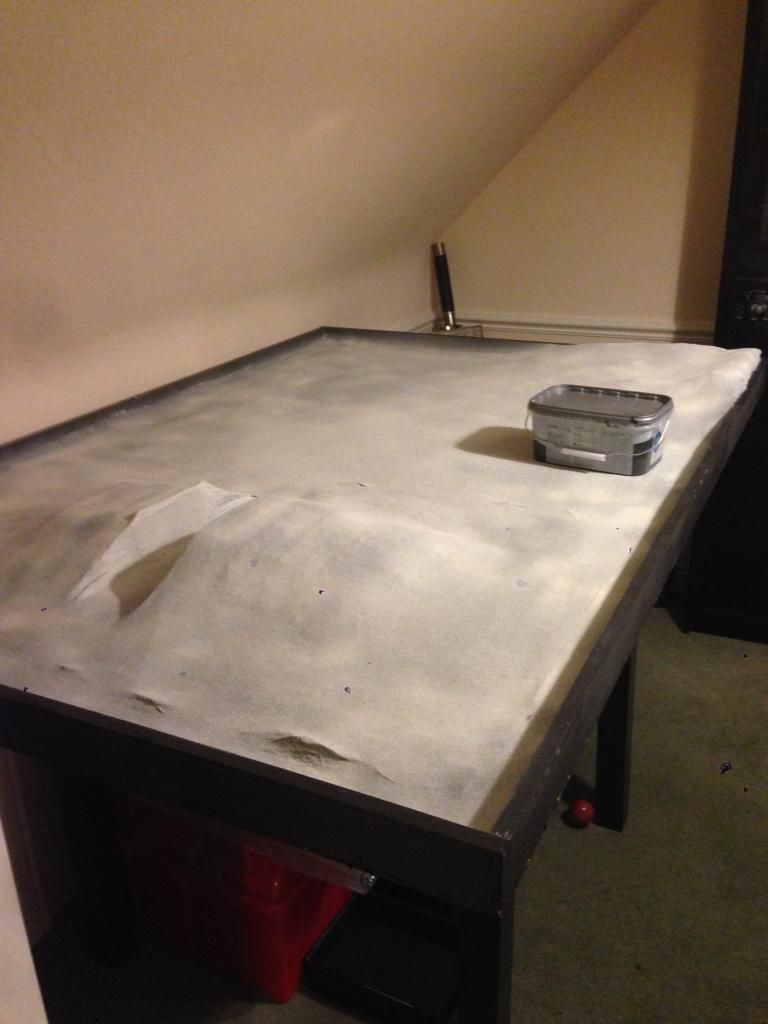
Complete but a little dull looking.
OOO looks Tyranids

A few actions shots for you. Apologies to Ian for putting his face (and Imperial Guard on the internet....again)


Now I am fortunate enough that I have a gaming room in my house. Mostly because when me and the wife had a discussion on whether the 3rd bedroom was for potential children or toy soldiers I said toy soldiers....pretty sure I'm still in trouble for that actually but nevermind.
One of my gaming group laid down a challenge to me. He had just built his gaming table (using foam insulation for a modular board to be used on the dining table) and the price tag had come out at roughly the cost of a realms of battle board for his unique and attractive set-up.
I of course immediately saw an opportunity for a bit of one up-manship and informed him I would build not just a board but the table for it to go on as well for less than half the cost of the realms of battle board.
Now I'm a pretty handy chap (I work for a timber company and know my way around a power tool or two) so I messed up some measuring and promptly asked the boss for some wood and set to work. My main goals being that my board would be tall enough for a good sized bloke (I'm 6'1") to play at all day without getting a sore back from bending over. A place where reserves/army books/the ubiquitous dead pile could be stored that was not on the playing surface, its a pet hate of mine. Then of course my budgetary requirements.
At this stage I'll toss in a few pictures for you of the board being built.


So thats the actual table built. The first picture shows a rudimentary frame being built, thats one half of the legs. Dead simple.
Second picture is showing my solution to the books/reserves/dead pile issue. Attached to the supporting ribs I have put on kitchen drawer sliders, with a shelf which slides in and out on your players side. This shelf is used by the player on that side for there stuff. Its measured to be tall enough that a wraithknight will fit, along with any current flier.
Finally the tabletop is 4x4 allowing for the completed main board to be taken off (its unattached so you can spin the board if you roll a different deployment type, or someones being an ass and wants to swap sides after you've already got the table ready.) and can be used for smaller games with scatter terrain.
Cost of the table at this stage £32.
4 4"by4" posts
3 pieces of 18mm MDF (one big top, 2 small shelf pieces)
Black Paint
Box of Screws.
Drawer sliders.
At this stage the most expensive thing is the black paint...which is ridiculous.
Now the actual table itself. Now the mathematically gifted amongst you will have noticed I have £55 at this stage to make a gaming board. Impossible right? Nah.
So one more piece of MDF, a few bits of pine(ouch budget) to edge it, a ton of PVA glue and a roll of chicken wire. Either this is a really poor trap for the road runner or I've gone insane.


Starting to make sense yet?

How about now?
So using the left over black paint I've painted my gaming board to match the table, then got the chicken wire and started to make some hills out of it. MY gaming board is going to be a big snowy tundra with scattered ruins and forests on it, after all a fully sculpted board which you couldn't alter would get dull after a while. So we have a big hill in the corner and a valley in the centre.
The chicken wire was really easy to work with, my advice is wear some gloves, rubber faced(like you would use for heavy duty gardening/working with building materials is preferrable but in a pinch wool will do. The Wire is pointy and likes to stap you, expect some scratches. It simply staples into the surrounding pine and the MDF base. Shape it how you like. For parts not supported by the boards edge I have used some hacked up shoeboxes to offer some sturdiness.
So now I have a board with more holes in than expensive cheese. With only £20 left in my budget I must be screwed right? to Solve my problem we turn to the PVA glue. Now, a few people don't actually believe me but this really does work and is strong enough. My board is made from Papier Mache, 20 layers of it to be precise. Its hard as rock. You can hit it with a hammer and it wont break. Its also basically free. I get a paper everyday so I just used them. Even if you don't they give them out for free on buses and trains (in England at least.)
I will concede the downside to doing it this way though. With drying time (and tolerable working time since it does get reallllly boring) this part of the process did take maybe 2 months.
So £20 still left in the budget and I now have something that looks like a lumpy hostage negotiation letter. (and a NSFW corner I made entirely out of Page 3 which I call Boob Mountain.)
Final purchases:
Grey Textured Spray paint and White Textured Spray paint.
Setting to work spraying the whole damn thing. Compared to the papier macheing this is satisfyingly fast. Even including drying time it took a weekend. Most of that was waiting for it to dry.
So finished product:

Complete but a little dull looking.
OOO looks Tyranids

A few actions shots for you. Apologies to Ian for putting his face (and Imperial Guard on the internet....again)


